 Within WCONLINE, unavailable time on your schedule is called "blackouts" or "blackout times." When you first use Starting Availability Management to set up a new schedule in WCONLINE, WCONLINE will automatically create all of the blackouts needed to accurately represent your staff and resources' availability on your schedule; however, if you want to later modify a staff or resource's schedule, or if your schedule isn't conducive to automatic scheduling, then you will use Blackout Times Management to make those scheduling changes.
- If you need to close your entire schedule for a holiday or institutional closure, use Holidays and Closures Management, which is available within the "Area Tools" menu of Schedule Management, instead of this control panel.
Blackouts are added, modified, or canceled via Blackout Times Management. That control panel is available via the "Area Tools" menu at the top of both the Calendar Display and the Standard Display. The control panel is typically available to full administrators only, although many centers give basic administrators access so that they can modify their own availability on the schedule.
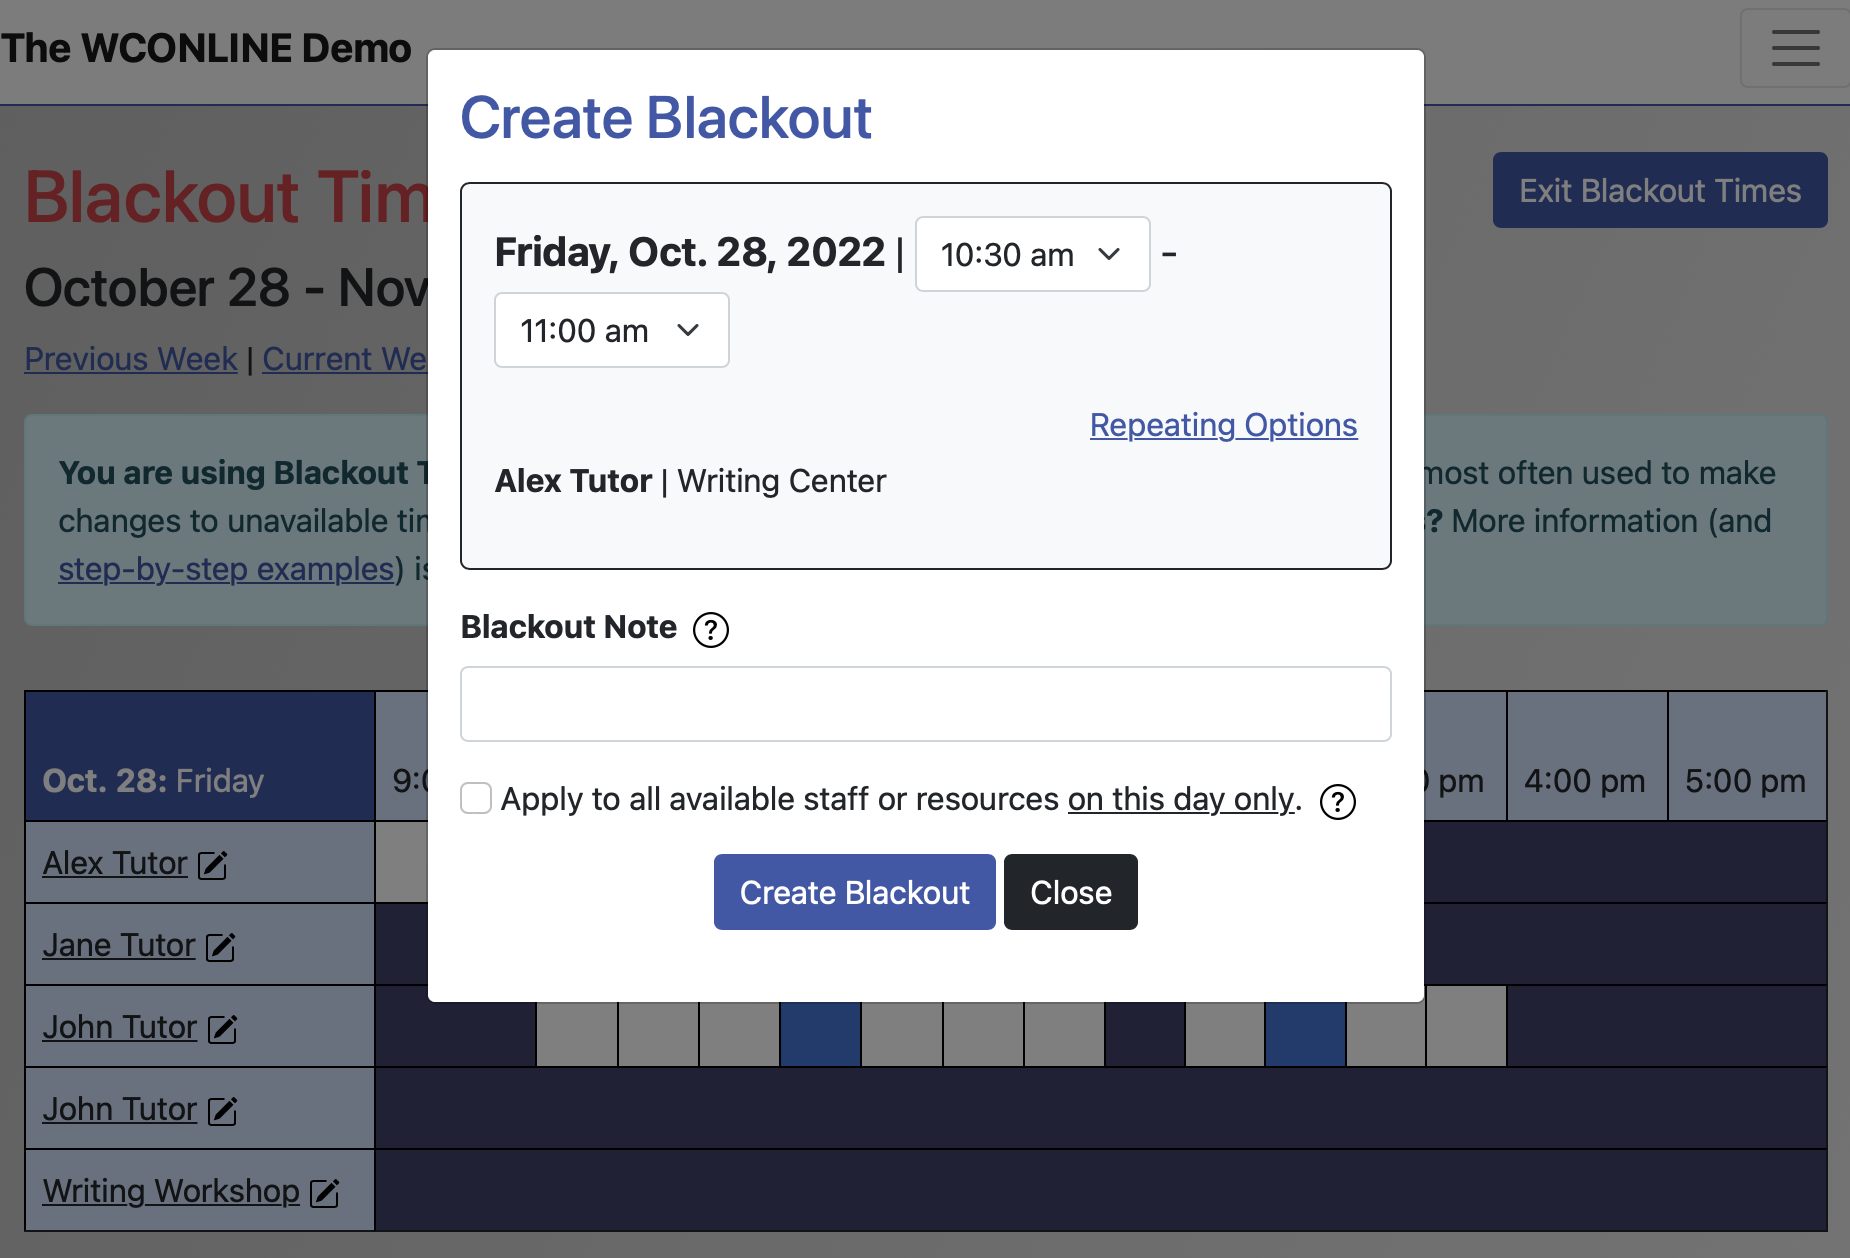
While staff and resources who don't work on a given day are automatically hidden on the schedule display, those staff and resources are always shown in Blackout Times Management. Once in that control panel, you'll make changes to your schedule by adding, modifying, or canceling blackouts (in the same way that you add, modify, or cancel appointments) in order to cover or uncover available time. Since you can apply your changes to all connected days (or have them just apply to a single day), you can make schedule-long scheduling changes simple by modifying a single-day's schedule.
Sections in this Chapter
SECTION 1: Adding, Modifying, or Canceling Blackouts
SECTION 2: Scheduling Changes: Step-by-Step Examples