 WCONLINE can be paired with a card reader to allow clients and administrators to log in to the system, check in for their appointment, or access the time clock by swiping or scanning their institutional ID card at specific computers in your center. Since WCONLINE is a stand-alone program, card reader support can be implemented without a connection to your institution's data warehouse and without any institutional IT support. The first time that a client swipes their card, they'll be asked to attach that card to their WCONLINE account. On subsequent visits (or on subsequent swipes), they'll be automatically logged in to WCONLINE after swiping their card.
Purchasing and Installing a Card Reader
WCONLINE's card reader functionality is compatible with most card readers and ID card technologies. In order to work with WCONLINE, a card reader must have the following standard functionality:
- Keyboard Emulation: This means that the card reader reads the contents of the ID card and converts that into the letters and numbers on a standard keyboard which it then sends to the attached computer.
- Auto-Submit Functionality: This means that, after a card is scanned, the card reader sends the information directly to the computer without any additional steps.
- 3-Track Reading Capability: This applies only to magnetic card readers and means that the card reader has the ability to view data on all three "tracks" or paths on the magnetic stripe.
In addition, the computer or kiosk used with the card reader has to have the following functionality:
- Browser Auto-Complete Disabled: Turn off autocomplete in the browser that you want to use with the card reader. This prevents that browser from "remembering" the value of cards that are swiped and offering those previously-saved values whenever WCONLINE is loaded in the browser. Typically this is done in the browser's settings or configuration menu, but a quick internet search should give you step-by-step instructions for your browser.
- Static IP Address: Because WCONLINE identifies the computer to which the card reader is attached by that computer's public IP address, that IP address cannot change (or be "dynamic"). If you're unsure if your computer has a dedicated and static IP address, you'll need to reach out to your IT department so that they can assign such an IP to the device. If, after setting up the card reader successfully, the card reader interface suddenly stops being displayed on your computer (especially after a reboot), then that means that the computer does not have a static IP and that the computer's IP address changed.
As with all features of WCONLINE, the card reader functionality can be enabled at any time and without any additional cost (above, of course, the cost to procure a card reader device). Therefore, you can "try" multiple card readers to see if they are compatible (or if they have the required functions to work) with WCONLINE.
Many institutions have card reader devices available for their constituents to use, so we suggest first reaching out to your IT department to see if there are devices that you can try with WCONLINE. If you decide to purchase a card reader, ensure that the reader is compatible with your ID cards (such as being a magnetic stripe card reader for ID cards that use magnetic stripes) and that it has the required functionality. We have clients using a wide variety of card readers successfully with WCONLINE, but, because of the diversity with card readers and ID card technologies, we don't have specific recommendations about devices to purchase (with the one exception below). Since nearly all devices work with WCONLINE, our suggestion is to try a device and, if it doesn't work even after working through the troubleshooting discussion below, return it and try another.
- For magnetic stripe ID cards, we've seen a lot of success with the inexpensive ETEKJOY 3-Track USB card readers available through Amazon.
Once you have a card reader, plug it into your check-in computer or kiosk and follow any on-screen instructions for installing any necessary drivers. Once the card reader is installed, continue to the next steps to enable card reader support in WCONLINE.
Enabling Card Reader Support
Once you've installed your card reader, you'll need to enable the card reader support within WCONLINE. To do this, go to Global System Settings and review and set both the ENABLE CARD READER SUPPORT and CARD READER PROTOCOL on the fifth and last line of "General Settings" (as discussed further in the Global System Settings section of this manual.
If you want clients and staff to clock in and out via card swipe or to check in for their appointment via card swipe, then you will also need to set up WCONLINE's time clock (if you haven't already). That feature is set up in Module Setup: Time Clock and is discussed much more in-depth in the corresponding chapters in this manual.
Using the Card Reader
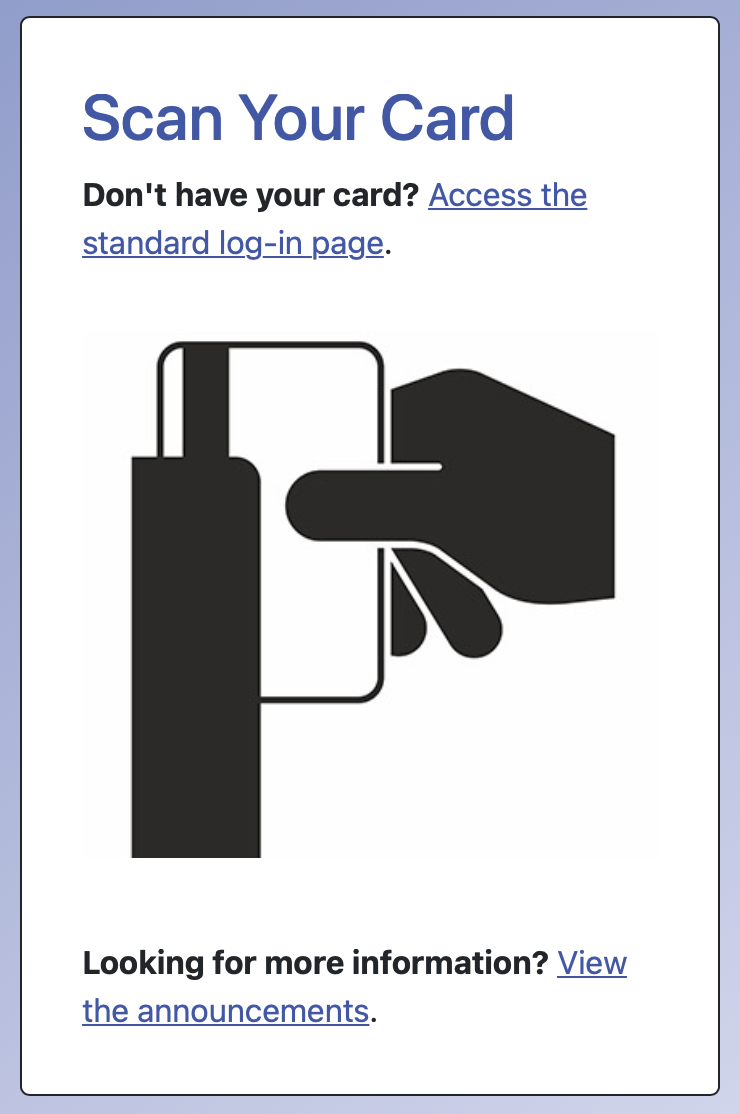
Once you've configured the card reader within WCONLINE, log out of WCONLINE on that computer. As long as the configuration was successful, you'll be taken to the card reader login page. In order to log in, an individual simply needs to swipe their ID card and follow the on-screen instructions.
- If you do not see the card reader login page on the computer with the card reader, then that means that the IP address that you entered is incorrect. Go to Global System Settings and check the IP address listed for the ENABLE CARD READER SUPPORT setting as set in Global System Settings.
- If nothing happens when you swipe a card, then that means that no data is being transferred to WCONLINE when a card is swiped. First, check to ensure that your card reader emulates a keyboard and auto-submits (as discussed above) and then try cleaning your card reader. Next, try changing the CARD READER PROTOCOL SELECTION as set in Global System Settings.
- If the individual using the card swipe doesn't have their ID card, they should simply follow the "access the standard log-in page" link and log in to WCONLINE as they normally would.
If an individual has never used their ID card with WCONLINE before, then they'll be asked to attach the card to their account after their first swipe. Since WCONLINE doesn't connect to your institution's data warehouse, attaching a card to an account is how WCONLINE knows to associate a given card with a given account on future swipes. To attach the card, the individual simply logs in to WCONLINE after swiping their card.
- If the individual hasn't registered for an account yet, then they'll need to do so before attaching their card to the account. To register, they'll follow the "register for a new account" link displayed on the screen.
- If the individual has already attached a card to their account but is still being asked to attach the card that they just swiped, then that either means that the card that is being swiped isn't the same as the card that was originally swiped or that the card was misread when it was swiped. In either case, they'll follow the link to "try scanning the card again." Should the issue reoccur, they should simply log in when prompted to re-attach the card to their account.
Once an individual has a card attached to their account, they'll be logged in automatically when they swipe their card. If you've configured your time clock in Module Setup: Time Clock (as discussed above), then individuals will be asked to clock in or out after swiping (and can chose to also go directly to the schedule); otherwise, individuals will be taken directly to the schedule display after successfully swiping their card.
- If an individual is logged into someone else's account when swiping their card or if everyone reaches the same account after swiping different cards, then that means that the cards aren't being read properly. First, try cleaning your card reader. Then, try changing the CARD READER PROTOCOL SELECTION as set in Global System Settings.
 If an individual gets a new ID card that contains different data than the card that they previously attached to their account, then they'll be asked to attach the new card to their account after they swipe it for the first time. Attaching the new card replaces the old card automatically. Administrators can also remove a card attached to an individual's account by searching for the individual in Client and Record Management and then selecting the card icon that appears next to the individual's name. If a card icon doesn't appear, then that means that the individual doesn't have a card attached to their account.
Sections in this Chapter
SECTION 1: The Calendar Display
SECTION 2: The Standard Display
SECTION 3: Card Reader Support