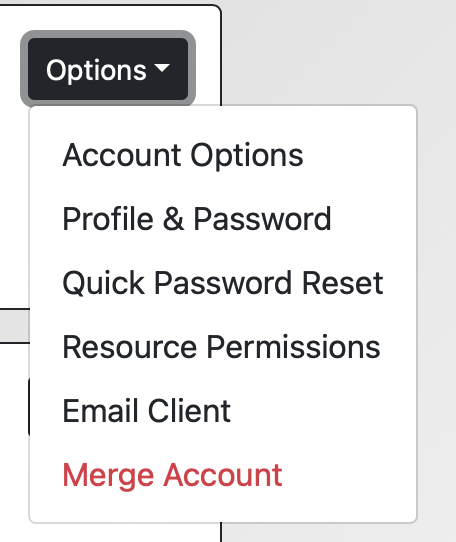
 In Client and Record Management (which you'll find as the first administrative option in the Welcome menu), selecting OPTIONS to the right of a client's name will display a list of account-specific options and tools. As with all control panels, be sure to hover over the question mark icon within the control panels in order to find suggestions and more information about each configuration option.
Account Options
 Once you've made changes in this area, select the "Save Changes" button to apply the changes.
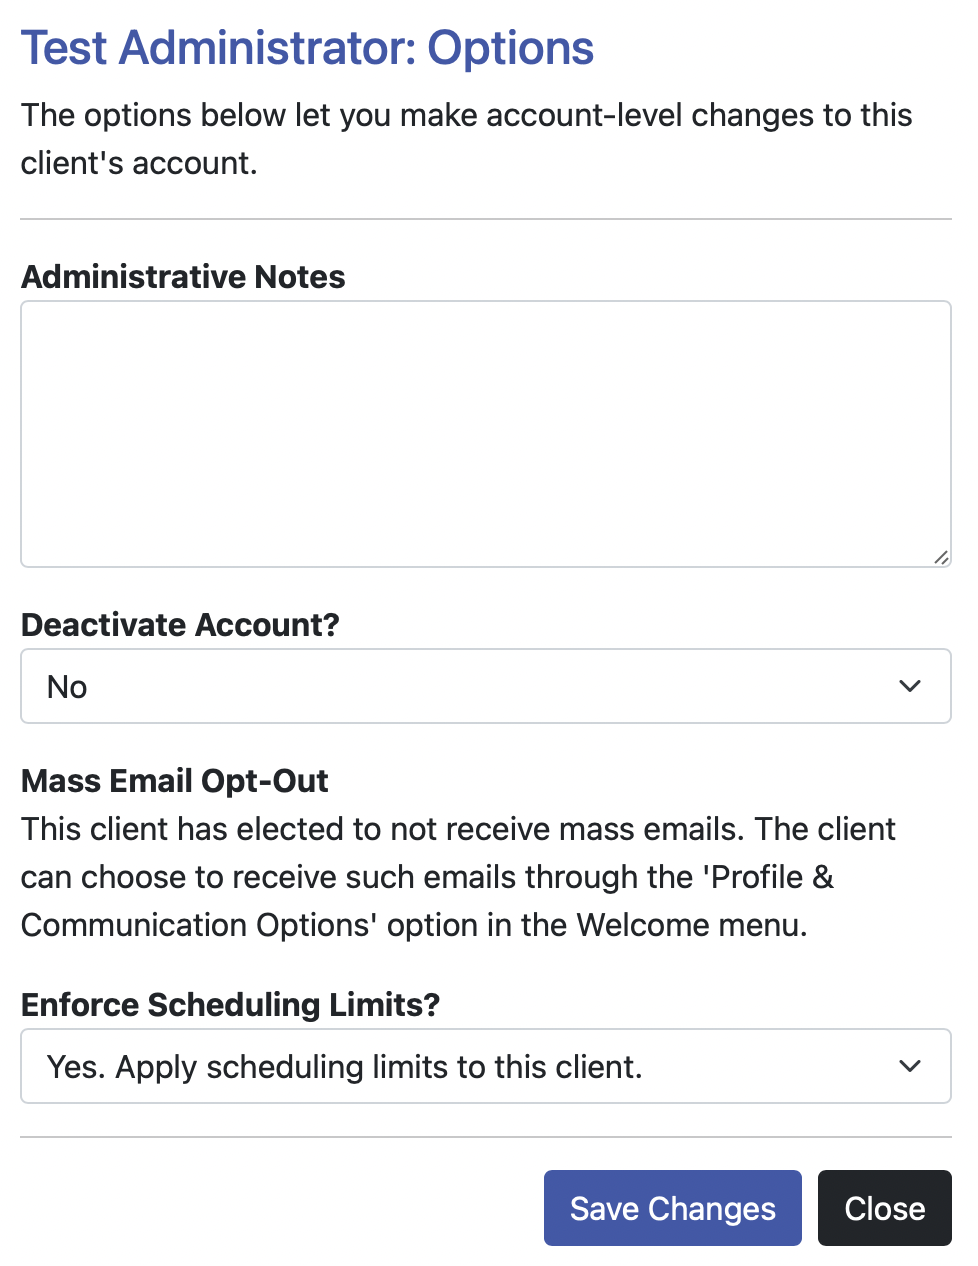
ADMINISTRATIVE NOTES: Administrative notes attached to a client's account are displayed only to administrators and only when viewing a client's profile. This means that administrators can see these notes throughout WCONLINE by selecting a client's name (such as by clicking on the client's name at the top of an existing appointment form.
Administrative notes are useful for recording information that is not appointment specific (as that information would be recorded in the post-session client report form). For example, some centers use these notes to record information about a student's requests, accessibility needs, or center space preferences.
DEACTIVATE ACCOUNT: If a client's account is deactivated, then the client will not be able to log in to WCONLINE. If a client is already logged in and has their account deactivated, then the client will be immediately logged out and will be unable to log in again. Additionally, deactivated client accounts will not appear in most of the search tools or lists where a client can be selected (such as within the list of clients that administrators select from when making a new appointment). If a client's account has been deactivated and the client attempts to log in, then they'll see a message directing them to contact the center. (Note that full administrators can always log in--even if their account has been set as deactivated. Basic administrators, however, cannot log in if their account has been deactivated.)
Client accounts can be deactivated in one of three ways. First, setting this option to YES will result in the client's account being manually deactivated. Second, if you ENFORCE NO-SHOW POLICY as set in the "No-Show Policy and Enforcement" section of Global System Settings, then a client's account will be deactivated if they exceed your no-show limit. Here, this will be shown as YES, VIA NO-SHOW POLICY. In either case, setting this option to NO will immediately reactivate the account. Third, if you ENFORCE LATE CANCELATION POLICY as set in the "Late Cancelation Policy and Enforcement" section of Global System Settings, then a client's account will be deactivated if they exceed your no-show limit. Here, this will be shown as YES, VIA NO-SHOW POLICY. In either case, setting this option to NO will immediately reactivate the account.
MASS EMAIL OPT-OUT: This option allows an administrator to manually opt a client out of receiving mass emails. This is useful if a client requests to be removed from such emails and does not want to do so themselves by logging in and using the Welcome menu's Profile & Communication Options tool. If a client's account has already been set to not receive mass emails--either by the client manually or through this tool--then the client would have to re-enable mass emails manually by editing his or her profile. Administrators do not have the ability to opt clients into receiving mass emails.
TEXT MESSAGING OPT-OUT: If USE TEXT MESSAGING is set toYES in Global System Settings, then this option will be displayed. It allows an administrator to manually opt a client out of receiving mobile or text messages. This is useful if a client requests to be removed from such messages and does not want to do so themselves by logging in and using the Welcome menu's Profile & Communication Options tool. If a client's account has already been set to not receive texts--either by the client manually or through this tool--then the client would have to re-opt-in manually by editing his or her profile. Administrators do not have the ability to opt clients into receiving text messages.
AVAILABLE CREDITS: If REQUIRE APPOINTMENT CREDITS is set to YES in Global System Settings, then this option will be displayed. It allows an administrator to add or remove credits from a client's account or to set a client to not require credits in order to make appointments.
ENFORCE SCHEDULING LIMITS: In Schedule Management, you can set limits on the number of appointments or minutes of appointment time that a client can make per day, week, month, or across the entire schedule. By default, these limits are imposed on all non-administrators when making appointments on your system; however, if you set this option to NO then this client will be able to make appointments in excess of the per day, per week, per month, or across schedule limits set in Schedule Management. Even with this exclusion in place, clients will still be impacted by the other scheduling restrictions (such as limits on active or back-to-back appointments).
![]() DIRECT EMAIL LOG: If the EMAIL CLIENT option was used to send the client and email or the Module Setup: Early Alerts & Flags was configured to send notices about the client's activities, then those emails will be recorded at the bottom of this area. In either case, a alarm icon will also be displayed next to the client's name in Client and Record Management.
DIRECT EMAIL LOG: If the EMAIL CLIENT option was used to send the client and email or the Module Setup: Early Alerts & Flags was configured to send notices about the client's activities, then those emails will be recorded at the bottom of this area. In either case, a alarm icon will also be displayed next to the client's name in Client and Record Management.
Profile & Password
 Once you've made changes in this area, select the "Save Changes" button to apply the changes.
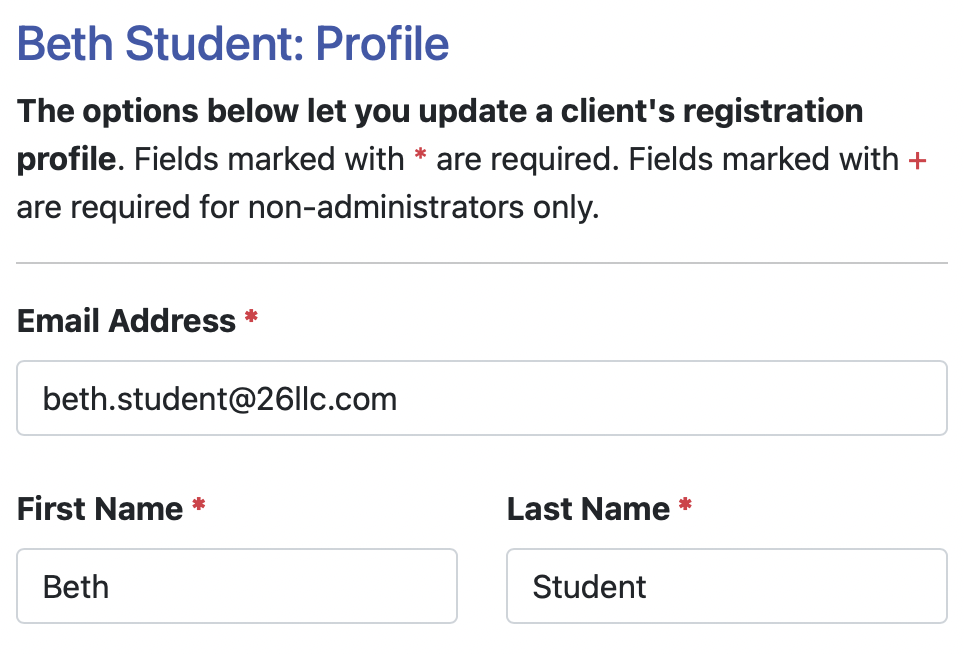
When a client first creates an account, they do so by filling out the registration form in order to answer the questions that you define in Form Setup: Registrations. Clients can also edit their answers to your registration questions at any time by logging in and selecting Profile & Communication Options in their Welcome menu. Administrators can also edit a client's registration profile by changing the answers in this section. Finally, using the options at the bottom of this area, administrators can reset a client's password by entering a new password that is at least ten characters long.
Note that administrators have to provide a unique email address (that isn't already attached to a different account) and a first name and last name when making profile changes. Questions marked with a + are required when clients are creating or editing their account, but are optional when administrators are creating or editing a client's account.
Quick Password Reset
This option resets the client's password and sends the client that new password via email. That email cannot be customized and reads as follows (with the information in brackets replaced with information from your system):
Dear [CLIENT FIRST NAME],
Your password to [CENTER NAME AS SET IN GLOBAL SYSTEM SETTINGS] has been reset by an administrator. You can now log in with the following credentials:
SITE: [SITE URL]
EMAIL: [CLIENT EMAIL ADDRESS]
PASSWORD: [NEW RANDOMLY GENERATED PASSWORD]
Sincerely,
[CENTER NAME AS SET IN GLOBAL SYSTEM SETTINGS]
Resource Permissions
 Once you've made changes in this area, select the "Update Permissions" button to apply the changes.
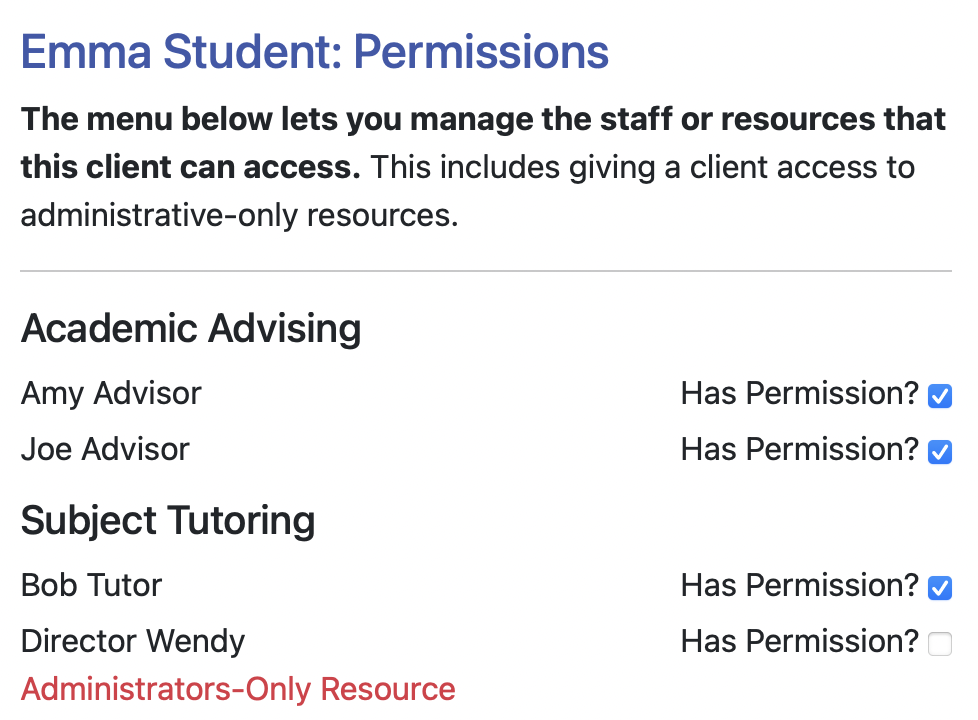
By default, clients can make appointments with any staff or resource that they have access to. Specifically, as long as a staff or resource appears on a schedule that has an AVAILABILITY of AVAILABLE TO EVERYONE in Schedule Management, and as long as the resource isn't set to be AVAILABLE TO ADMINISTRATORS ONLY in Staff and Resource Management, then a client will be able to reserve available slots with that resource (dependent, of course, on scheduling restrictions that you impose).
Clients can never access staff or resources on schedules set to AVAILABLE TO ADMINISTRATORS ONLY in Schedule Management, and clients can only make appointments with resources set to AVAILABLE TO ADMINISTRATORS ONLY in Staff and Resource Management if you explicitly give them permission to do so in this control panel. By unchecking the checkbox next to a given staff or resource, administrators can also remove a client's ability to see and access a given staff or resource.
Email Client
This tool lets administrators send an email to a client. The email is logged and is copied to the center's email address (as set in Global System Settings. By default, only full administrators have access to this tool. Basic administrators can be given access to the tool via the "Access Control" section of Global System Settings.
Merge Account
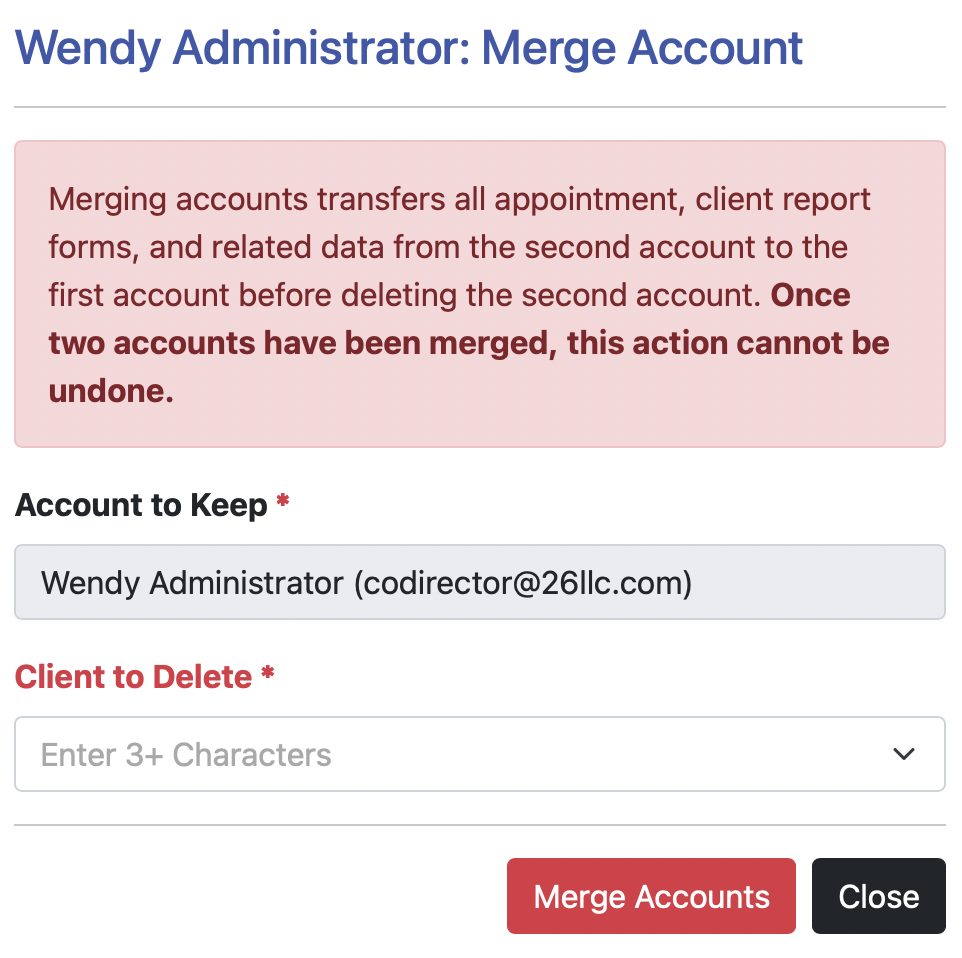 Only available to full administrators, this tool lets you merge two client accounts into a single account, while preserving the data attached to both accounts. This is useful if a client registers for multiple accounts using separate email addresses (such as with a personal email address and an institutional email address). Merging accounts transfers all appointment, client report form, and related data from the second account to the first account before deleting the second account. Once two accounts have been merged, this action cannot be undone.
To merge an account, search "Merge Account" next to the client's account that you want to keep. Then, within the modal form, select the ACCOUNT TO DELETE. Once you select the "Merge Accounts" button, WCONLINE will merge the two accounts. The client will then only be able to log in using the single account.
There are a couple of ways that you can prevent clients from being able to create multiple accounts. First, in Global System Settings, you can set a DOMAIN LIMIT to require a specific email domain when registering. Also in Global System Settings, you can configure authentication options to require that clients log in with institutional credentials.
Delete Account
This tool is only available to full administrators. Selecting this link will cause the system to ask you to confirm that you wish to delete the specified client. Be sure to read the confirmation screen carefully. If you confirm, then the client and all associated data (including appointments and client report forms) attached to the client will be permanently deleted.
If you are trying to help a client access WCONLINE and are thinking about deleting their account so that they can re-register, don't. Rather, select the client's name or edit their profile to reset their password. If you are thinking about deleting an account to prevent the client from accessing WCONLINE, don't. Deleting the account will not accomplish this because the client will simply re-register. Rather, edit the account and deactivate it, which will preserve the client's data and prevent the client from logging in or re-registering under the same email address.
Sections in this Chapter
SECTION 1: Client and Record Management Overview
SECTION 2: Account Options
SECTION 3: Area Tools