 Schedule Management allows you to create a new schedule, view details about your existing schedules, and configure a wide variety of schedule-specific settings and restrictions. Within WCONLINE, the calendar on which staff and resources appear (and the "thing" that clients view to see your availability and to make appointments) is your schedule. You can have an unlimited number of schedules, allowing you to have separate schedules for academic terms, or separate institutional centers, or even for specific, one-time scheduling needs (such as a "finals week" schedule).
Hover over the question mark icons within the control panel for more information about each configuration option. If you still have questions about a feature after having done so, find more information on that feature by going to the section in this chapter where that feature is located (as available at the bottom of this page). Typically, a center administrator will work through the options in this control panel when creating a new schedule for a new scheduling period.
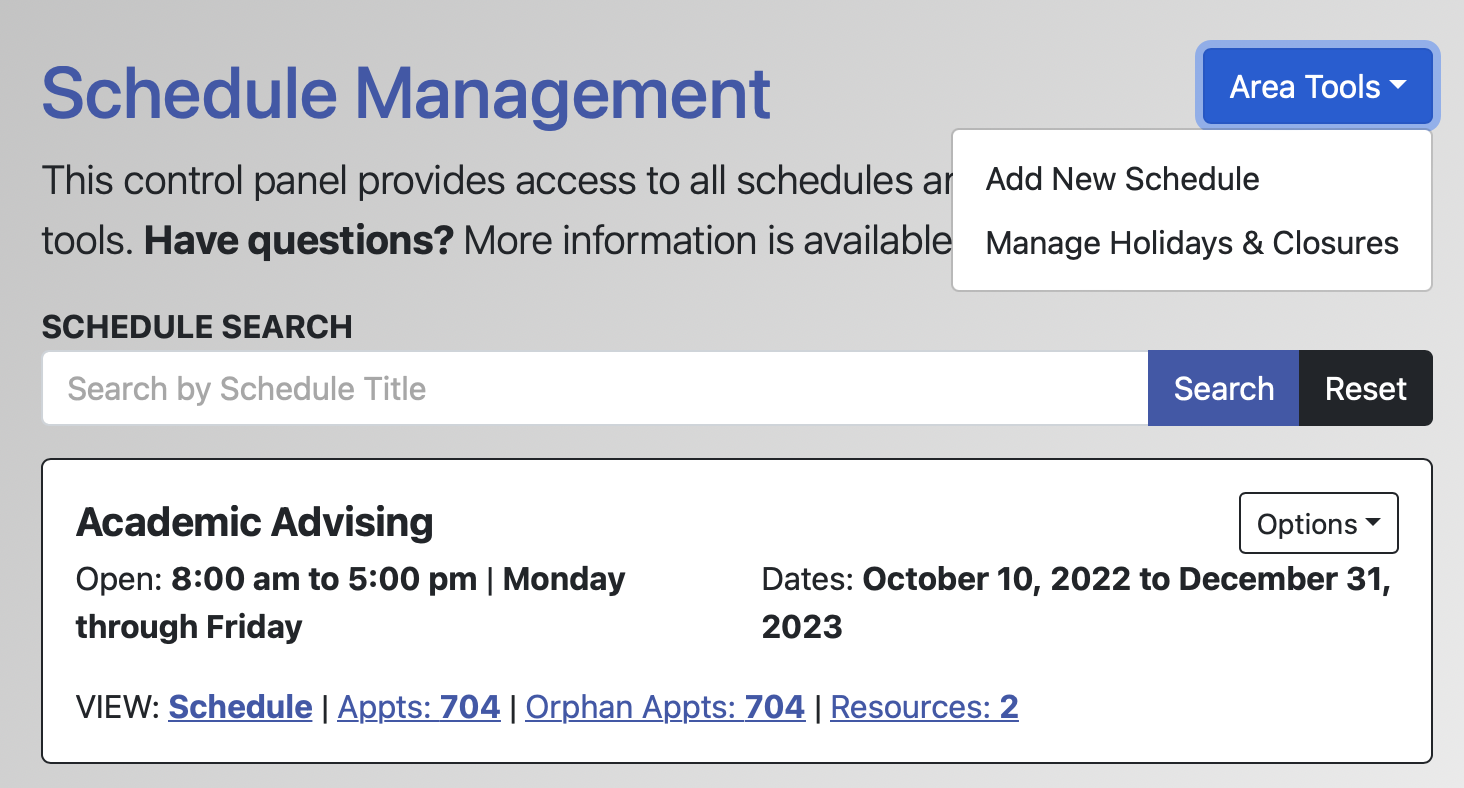
The Schedule Management control panel is available under the "Schedule & Staff Management" section of the Welcome menu, and is typically available to full administrators only. The control panel opens with an overview of all of the schedules on your system. It also provides tools for adding and editing schedules, duplicating schedules, defining the default schedule, and managing holidays and closures. Select a section title in order to go to the manual entry for the options in that area.
- SCHEDULE MANAGEMENT OVERVIEW: This section describes the options within the overview page--the first page that is displayed when you open Schedule Management. The overview provides access to all of the tools within the control panel and also displays specific information about each schedule.
- ADD OR EDIT: INTRODUCTORY SETTINGS: These are the settings that appear at the top of the form when editing or adding a schedule. They control the name, display dates and days, availability, and times and increments of the schedule.
- ADD OR EDIT: SCHEDULE OPTIONS: Appearing directly below Introductory Settings when editing or adding a schedule, these settings control schedule-wide tools (such as the waiting list and file attachments) and the appearance of and access to the schedule.
- ADD OR EDIT: CLIENT SCHEDULING LIMITS: Appearing directly below Schedule Options when editing or adding a schedule, these settings set restrictions on appointments that clients can make. For example, you can limit clients to a specific number of appointments per day, or you can prevent clients from canceling too close to the appointment's starting time.
- ADD OR EDIT: SCHEDULE-RELATED EMAILS: Appearing directly below Client Scheduling Limits when editing or adding a schedule, these settings define the emails and text messages that the system sends when a client makes, modifies, or cancels an appointment, when a client is reminded of their appointment, and when an appointment becomes available.
- ADD OR EDIT: A/B REPEATING SCHEDULE SETUP: Appearing at the bottom of the form when editing or adding a schedule, these options let you set up a non-standard repeating schedule, such as is sometimes found in some mostly primary and secondary institutions.
- MANAGE HOLIDAYS AND CLOSURES: Appearing as a link within the "Area Tools" menu near the top of the page, this tool lets you set the days when your center (and schedule) is closed for holidays or expected and unexpected closures.
Sections in this Chapter
SECTION 1: Schedule Management Overview
SECTION 2: Add or Edit: Introductory Settings
SECTION 3: Add or Edit: Schedule Options
SECTION 4: Add or Edit: Client Scheduling Limits
SECTION 5: Add or Edit: Schedule-Related Emails
SECTION 6: Add or Edit: A/B Repeating Schedule Setup
SECTION 7: Manage Holidays and Closures
SECTION 8: Mass Modality Update
SECTION 9: FAQ (Email Delivery, Blank Schedules, Setup, and More)