In Schedule Management (which you'll find under the "Schedule & Staff Management" section of the Welcome menu), selecting ADD A NEW SCHEDULE from the "Area Tools" menu will take you to the "Add a New Schedule" form where you can add a new schedule. Similarly, selecting EDIT SCHEDULE from the options menu to the right of a schedule's name in the overview will take you to the "Edit" form where you can edit the settings associated with an existing schedule. Both forms are identical with the exception that the "edit" form shows the existing settings for the schedule.
The resulting form is broken up into five sections--Introductory Settings, Schedule Options, Client Scheduling Limits, Schedule-Related Emails, and A/B Repeating Schedule Setup. Hover over the question mark icons within the control panel for more information about each configuration option.
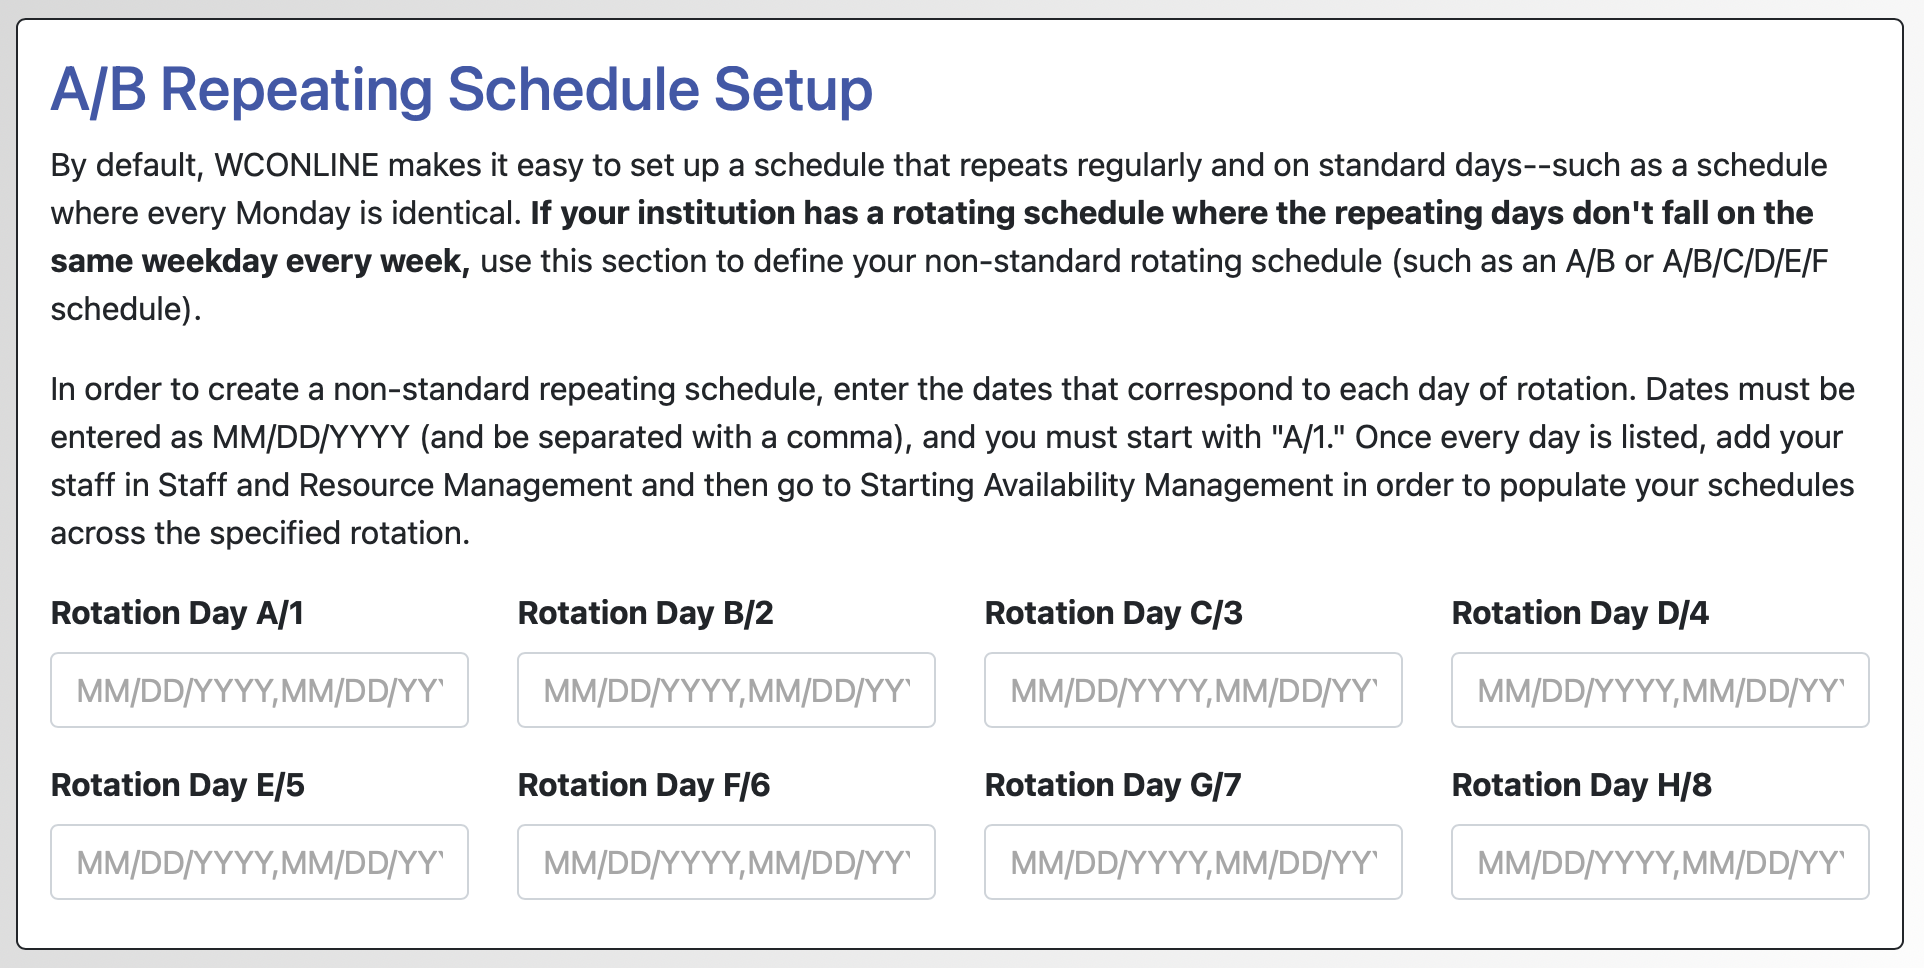
A/B Repeating Schedule Setup
These are the settings that appear in the final area when editing or adding a schedule. They allow you to set up a non-standard repeating schedule, such as is sometimes found in some mostly primary and secondary institutions.
By default, WCONLINE makes it easy to set up a schedule that repeats regularly and on standard days--such as a schedule where every Monday is identical. Briefly, this is accomplished by creating a schedule in Schedule Management, adding staff and resources to that schedule in Staff and Resource Management, and then entering the repeating schedule in Starting Availability Management. However, some institutions have rotating schedules where the daily schedules repeat, but where they repeat on non-standard days. While most clients should ignore this section of Schedule Management entirely, if your institution uses a non-standard repeating schedule, this section lets you set up that schedule.
Typically, non-standard repeating schedules have a calendar of dates with specific dates defined as "A," "B," or "C" days. The first step in setting up a non-standard repeating schedule in WCONLINE is to enter the dates that are associated with each defined group. Dates should always be entered as MM/DD/YYYY and be separated with commas.
For example, if your institution had a calendar that showed the following:
- A DAYS: Monday, March 1, Wednesday, March 3, Thursday, March 4, Tuesday, March 9, and Wednesday, March 10, 2024
- B DAYS: Tuesday, March 2, Friday, March 5, Monday, March 8, Thursday, March 11, and Friday, March 12, 2024
Then you would fill out this section as follows:
In ROTATION DAY A/1: 03/01/2024,03/03/2024,03/04/2024,03/09/2024,03/10/2024
In ROTATION DAY B/2: 03/02/2024,03/05/2024,03/08/2024,03/11/2024,03/12/2024
Since your institution's calendar doesn't use any other rotation days than those defined as A or B, you'll leave the other fields completely blank. Once you've confirmed that every date is listed and has been entered in the correct format, save your schedule. Once you've saved your schedule, we strongly recommend selecting EDIT next to the schedule, scrolling down to the list of dates, and checking again to ensure that all of your dates are correct and there. WCONLINE will automatically remove dates that don't exist (such as 12/33/2021), so this final check ensures that nothing was mistyped accidentally.
Once you've set up your schedule, you'll add resources to that schedule in Staff and Resource Management. Then, you'll use Starting Availability Management to add your staff and resources' hours. That control panel will automatically show your A, B, etc. days and let you schedule hours for just those days. Once you save your staff or resource schedule, WCONLINE will use the dates entered here to populate the schedule across all of your non-standard repeating days.
Sections in this Chapter
SECTION 1: Schedule Management Overview
SECTION 2: Add or Edit: Introductory Settings
SECTION 3: Add or Edit: Schedule Options
SECTION 4: Add or Edit: Client Scheduling Limits
SECTION 5: Add or Edit: Schedule-Related Emails
SECTION 6: Add or Edit: A/B Repeating Schedule Setup
SECTION 7: Manage Holidays and Closures
SECTION 8: Mass Modality Update
SECTION 9: FAQ (Email Delivery, Blank Schedules, Setup, and More)