In Global System Settings (which you'll find under the "System Configuration" section of the Welcome menu), you can define a variety of system-wide settings and controls. The third section in Global System Settings, titled "File Upload-Specific Settings" and available by clicking "FILES" in the "JUMP TO" links, provides options for defining how file attachments work, as well as the types of file attachments allowed by WCONLINE. As with all control panels, be sure to hover over the question mark icons for more information about each configuration option.
Files can always be attached to client report forms by administrators when filling out the post-session report. Separately, file attachments can be attached to appointments by clients and administrators; however, that option has to be enabled on a schedule-by-schedule basis via the ALLOW FILE ATTACHMENTS option in Schedule Management. While the appointment form can support an unlimited number of attachments, the client report form is limited to a single attachment.
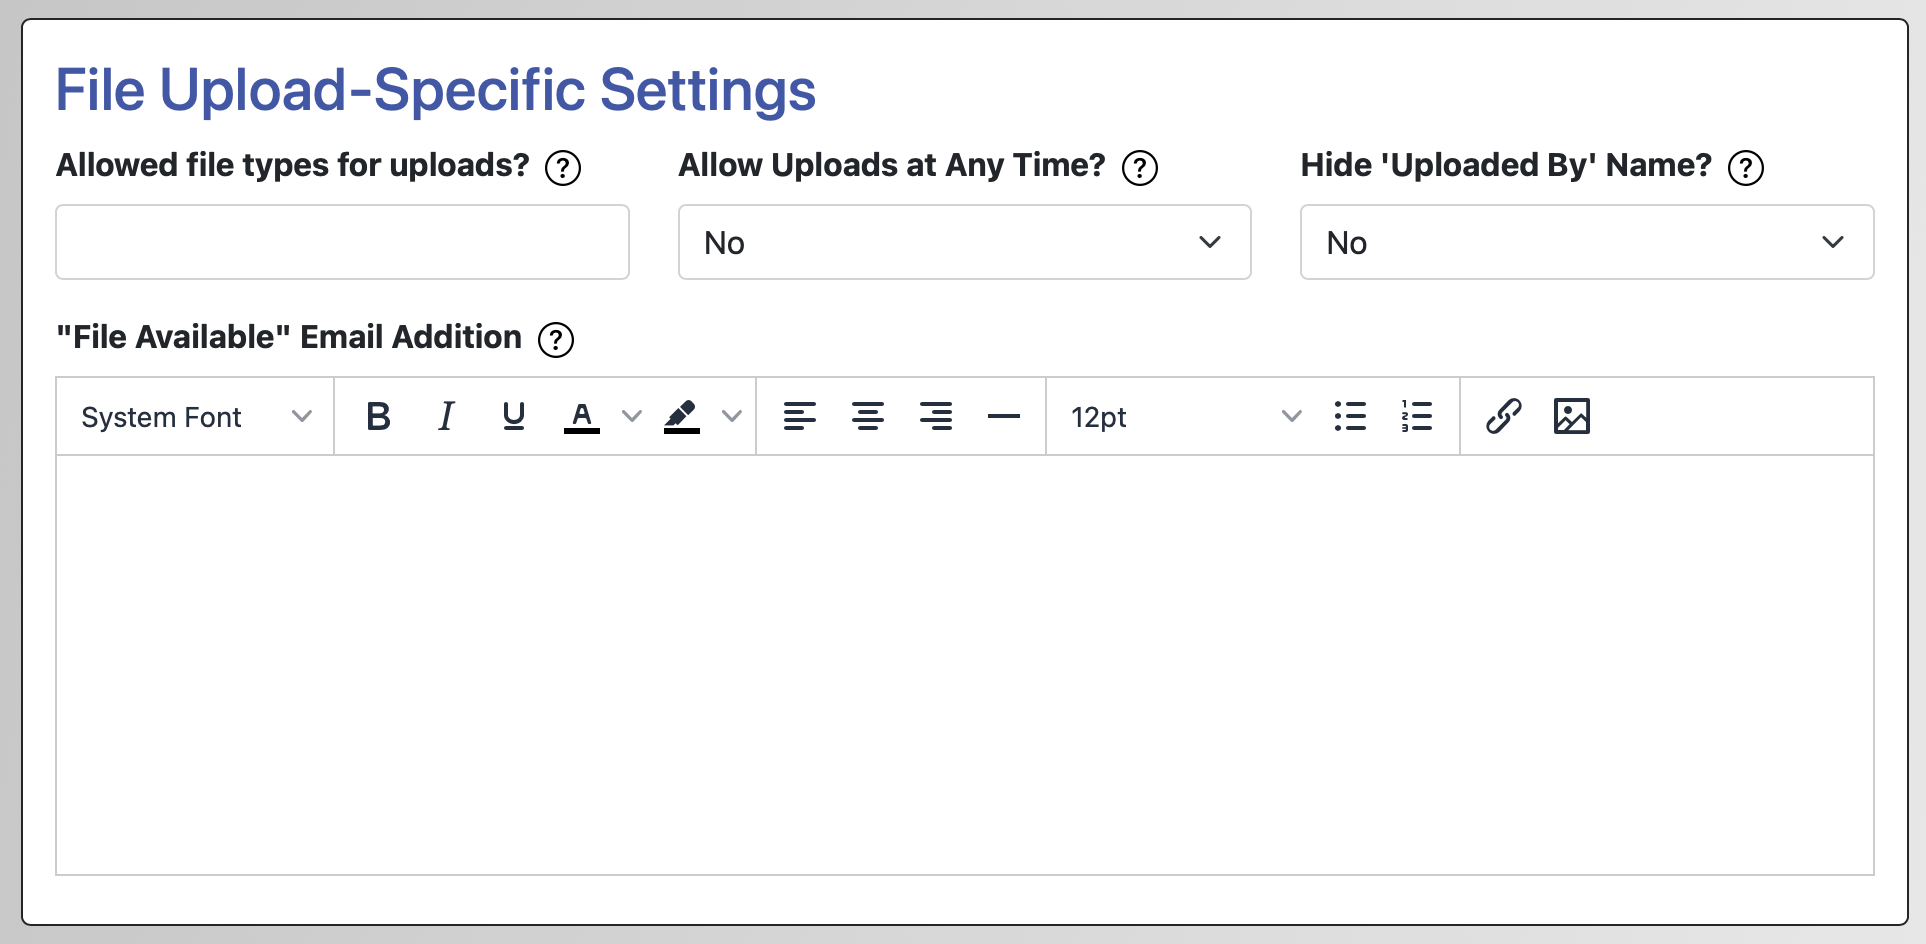
File Upload-Specific Settings
ALLOWED FILE TYPES FOR UPLOADS: This setting tells WCONLINE what types of files to accept for file attachments. By default (and if this field is left blank), WCONLINE allows for files to be uploaded if they end in one of the following extensions: .doc, .docx, .numbers, .odt, .pages, .pdf, .rtf, .txt, .wpd, .wps, .xls, or .xlsx.
If you would like to specify specific allowed extensions, enter those extensions as a comma separated list. For example, if you enter '.pdf,.docx' (without the quotes), WCONLINE will only allow uploads that end in .pdf or .docx. Files types should be listed as a period followed by the file type extension. File types associated with web programming, such as .js or .php, will not be allowed by WCONLINE. Regardless of extension, files are capped to 5mb in maximum size.
ALLOW UPLOADS AT ANY TIME? By default, non-administrators can only upload a file if they have access to edit a given appointment (such as if the appointment hasn't passed locally). If this setting is set to YES then non-administrators can upload a file to their current or future day appointments at any time and regardless of other limiting options.
HIDE 'UPLOADED BY' NAME: By default, WCONLINE shows the name of the individual who uploaded a file to an appointment. Use this setting if you would like to hide that name from clients, so that only administrators the name of the individual who uploaded a given file.
"FILE AVAILABLE" EMAIL ADDITION: When an administrator attaches a file to a post-session client report form, the administrator has the option to make that file available to the client either as an attachment to the email or on the appointment form. In response, WCONLINE sends the client an email alerting them to the file or providing the file as an attachment to the email. Depending on your settings, that email looks similar to the following:
Dear Jason,
A new file has been added to your appointment. The file is attached and can also be retrieved by going to demo.mywconline.com. Once there, log in, and then open the following appointment:
Appointment Date: January 28, 2024: 12:30pm - 1:00pm
Schedule: Writing Center (Alex Tutor)
Sincerely,
The WCONLINE Demo
If you would like to add additional information to the client report form file attachment emails, such as information about why files are uploaded and made available to clients, include that information in this field. That information will then be included directly above the "Sincerely" text in the above outgoing email.
Sections in this Chapter
SECTION 1: Introductory Settings
SECTION 2: General Settings
SECTION 3: File Upload-Specific Settings
SECTION 4: Registration-Specific Settings
SECTION 5: Cross-Schedule Limits
SECTION 6: System Color Settings
SECTION 7: Social Media
SECTION 8: No-Show Policy and Enforcement
SECTION 9: Cancelation Policy and Enforcement
SECTION 10: Access Control
SECTION 11: API Configuration
SECTION 12: Authentication Options
SECTION 13: Language Options
SECTION 14: Zoom Integration
SECTION 15: Zoom Integration (Beta)